ローカル環境にてSupabase + Google OAuthを動かすための実装サンプルの紹介になります。
環境
前提として、ローカルにてNext.js + Supabase環境がある状態から開始。
"@supabase/ssr": "^0.7.0","@supabase/supabase-js": "^2.56.0","next": "15.5.2",Supabase側設定
SupabaseにてGoogle OAuthを行うための設定を入れていきます。
ローカルの場合、Supabase Studioから設定を行うのではなく、supabaseディレクトリ配下のconfig.tomlに設定を行う必要があります。
[auth]# 省略additional_redirect_urls = ["http://localhost:3000/api/auth/v1/callback"]# ...
[auth.external.google]enabled = trueclient_id = "env(SUPABASE_AUTH_EXTERNAL_GOOGLE_CLIENT)"secret = "env(SUPABASE_AUTH_EXTERNAL_GOOGLE_SECRET)"skip_nonce_check = true
環境変数は同じsupabaseディレクトリ配下に.env.localを作成し、以下のように設定
(GCP側の設定完了後、実際の値を代入)
SUPABASE_AUTH_EXTERNAL_GOOGLE_CLIENT="[client_id]"SUPABASE_AUTH_EXTERNAL_GOOGLE_SECRET="[secret]"supabaseではsupabaseディレクトリ配下にenvファイルを作ると自動で読み取り、設定ファイルに展開してくれます。
また、Next.js側のenvに以下を追記しておきます。
SUPABASE_URL=""SUPABASE_ANON_KEY=""SUPABASE_AUTH_URL=http://localhost:3000 # 認証後にリダイレクトするURLGoogle Cloud Platform側設定
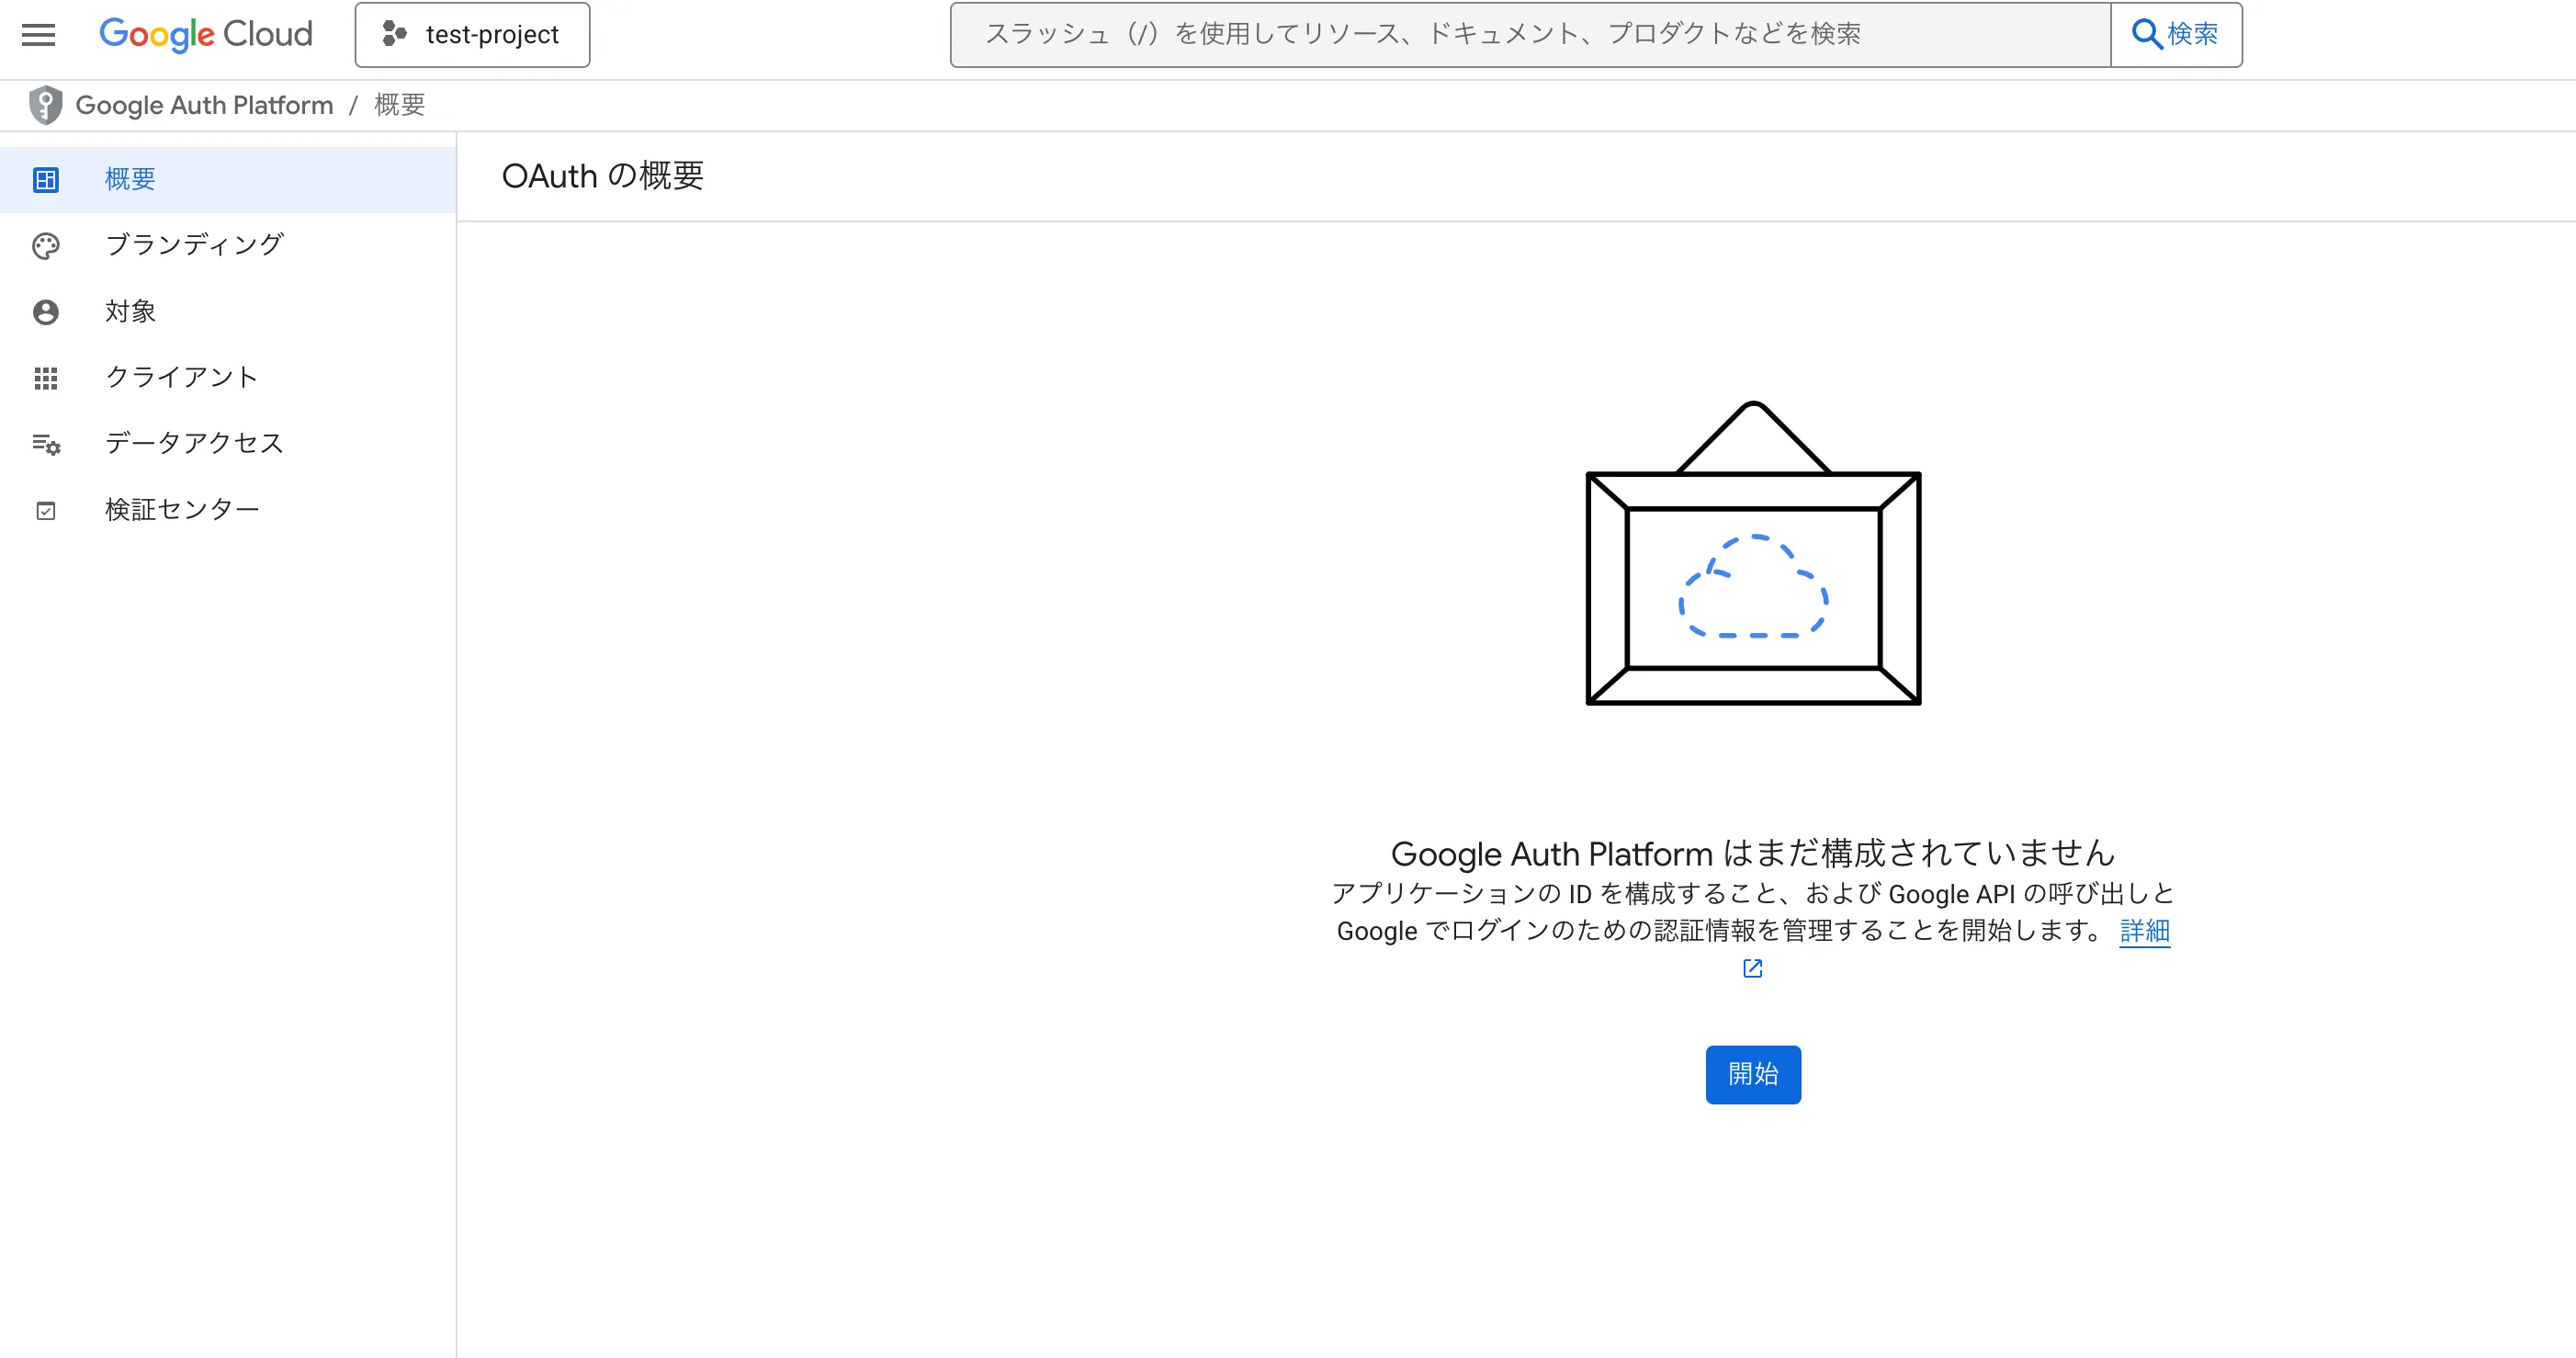
Google Cloud Platformにてプロジェクトを新規作成し、左バーの「APIとサービス」→「OAuth 同意画面」を選択します。


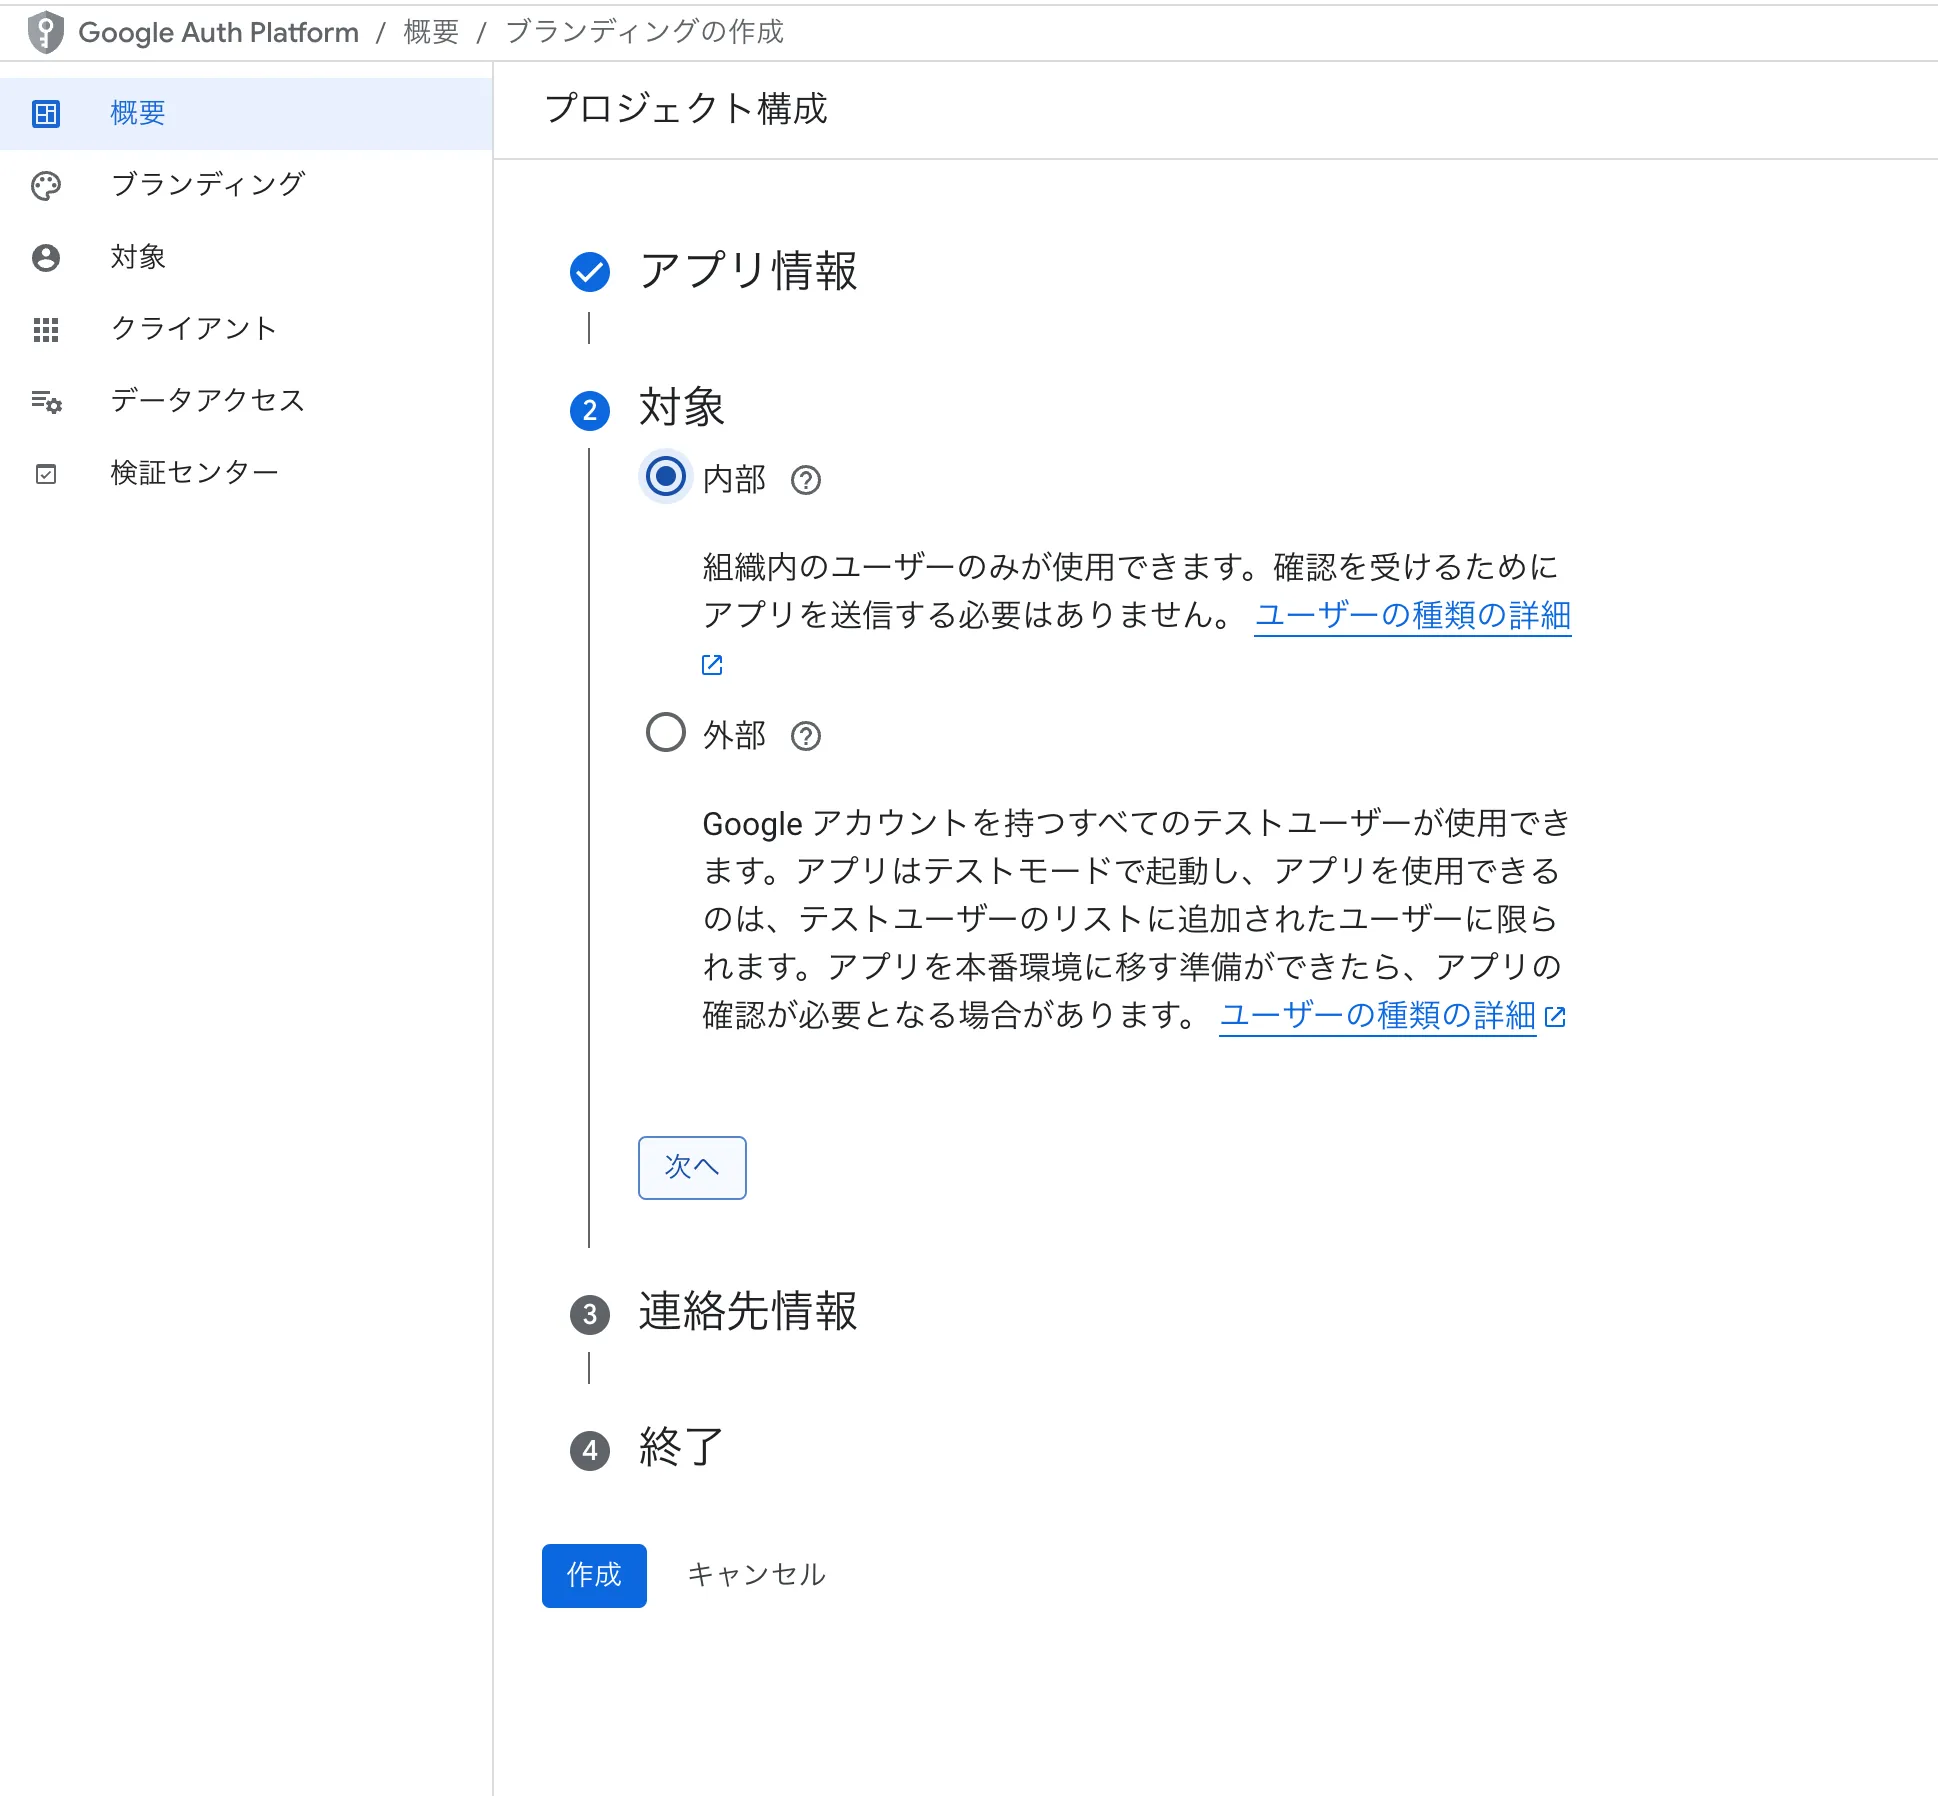
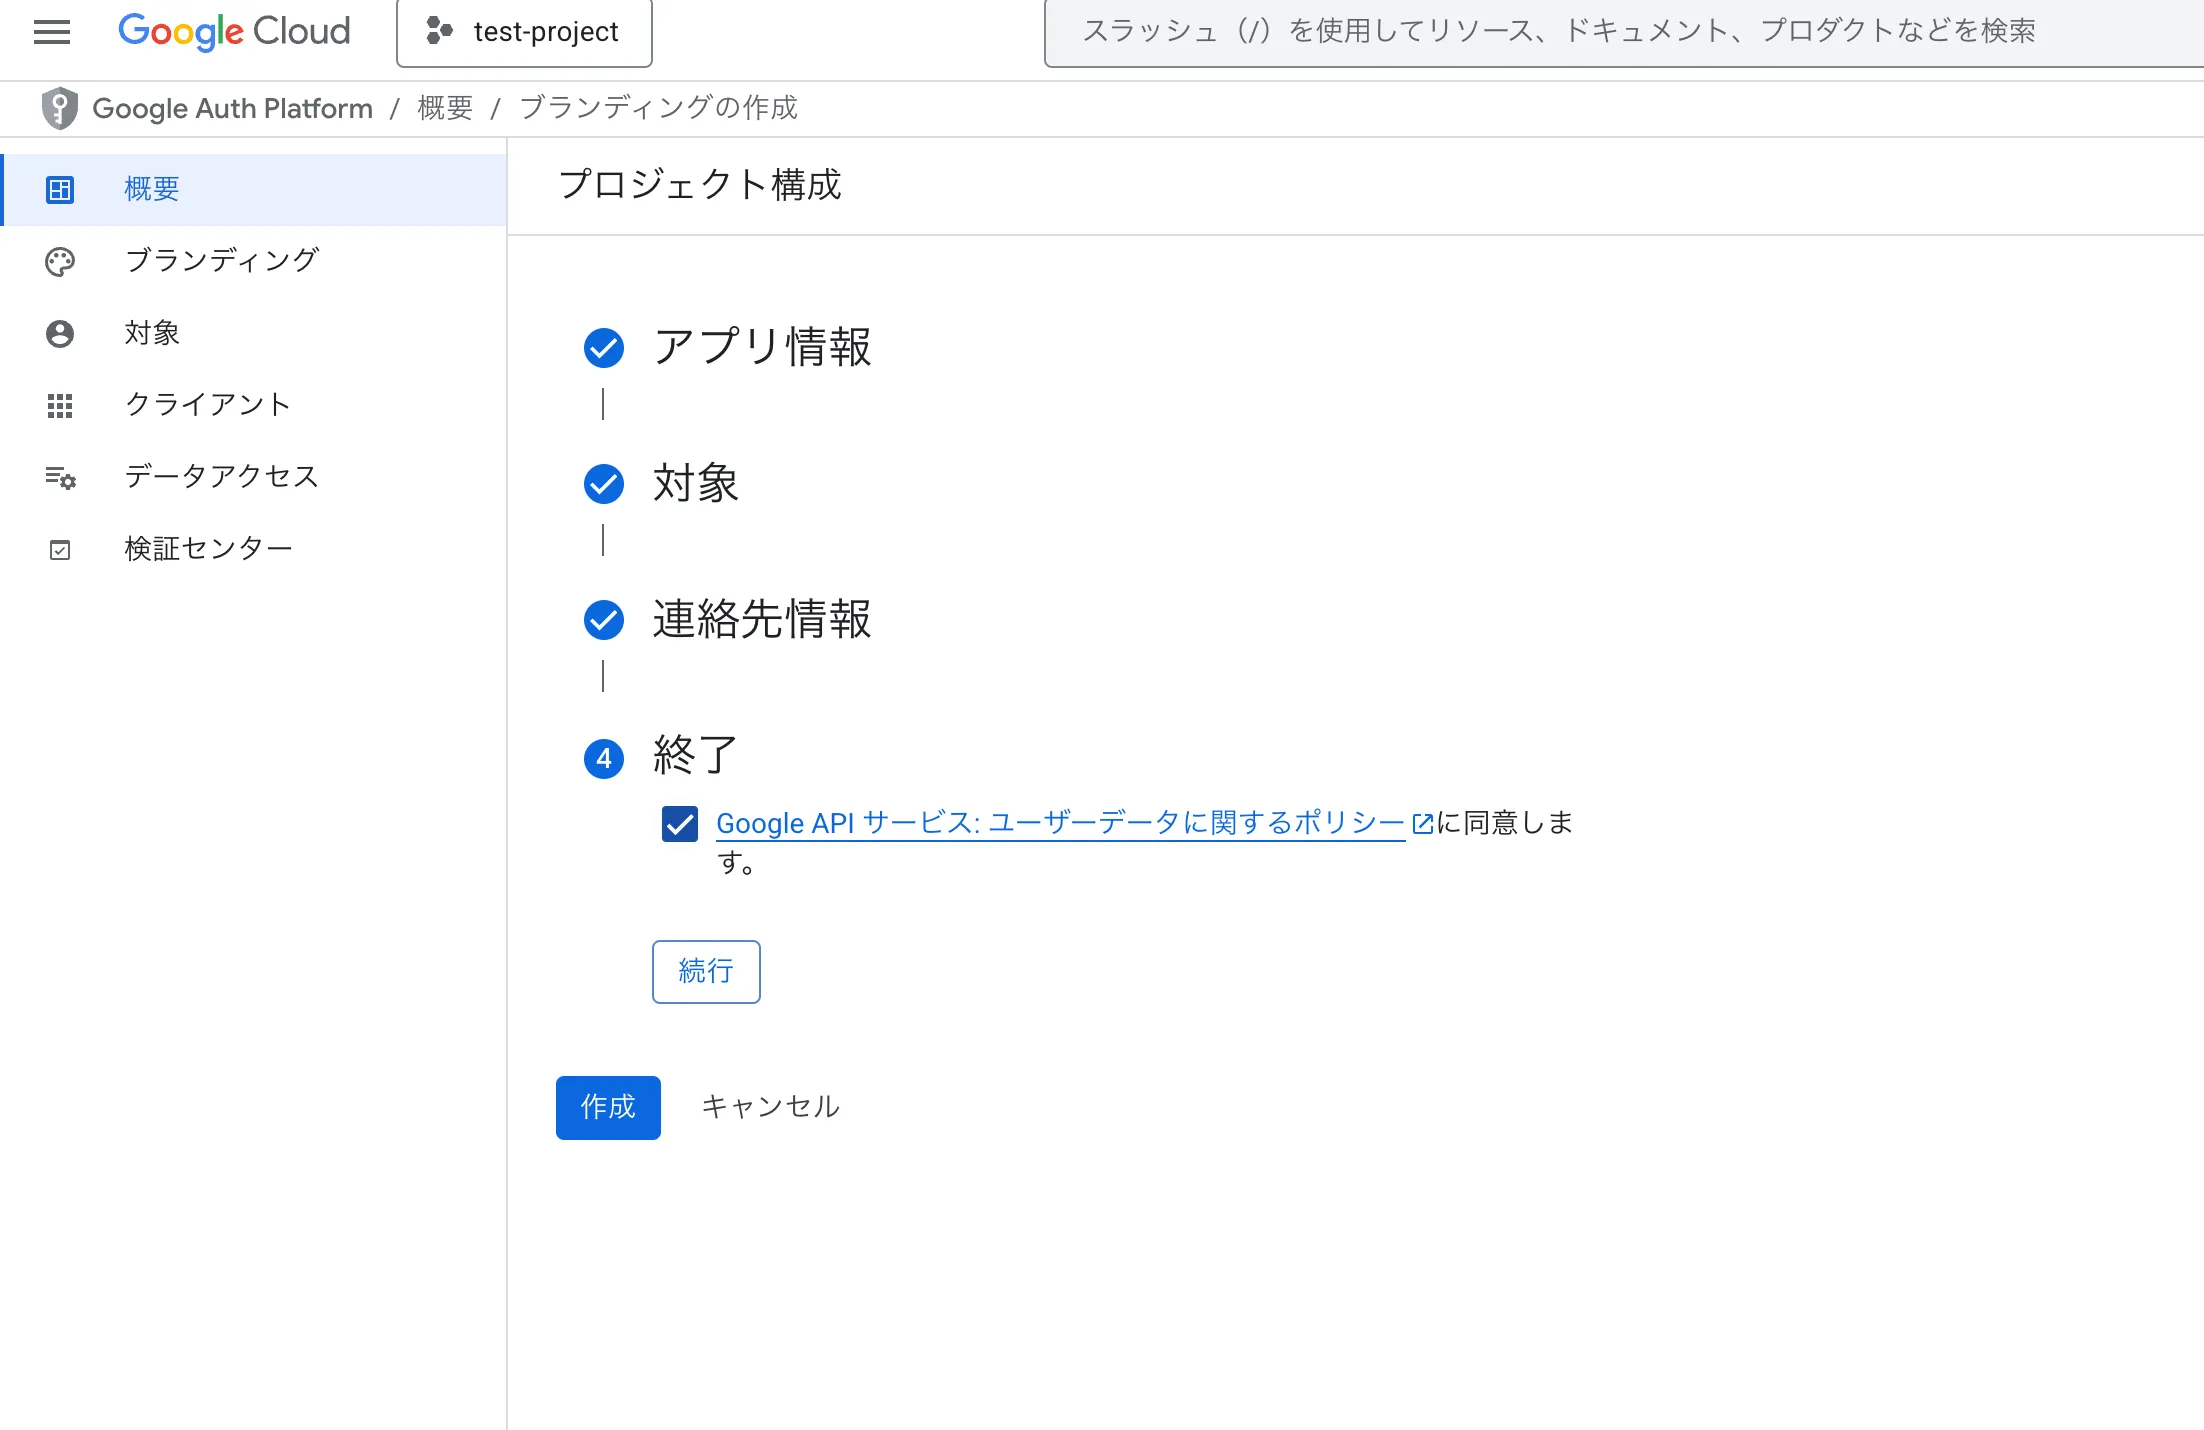
概要から「開始」ボタンを押し、連絡先などの情報を入力します。
また、「対象」では「内部」を選択します。
諸々入力後、「作成」ボタンを押して作成します。
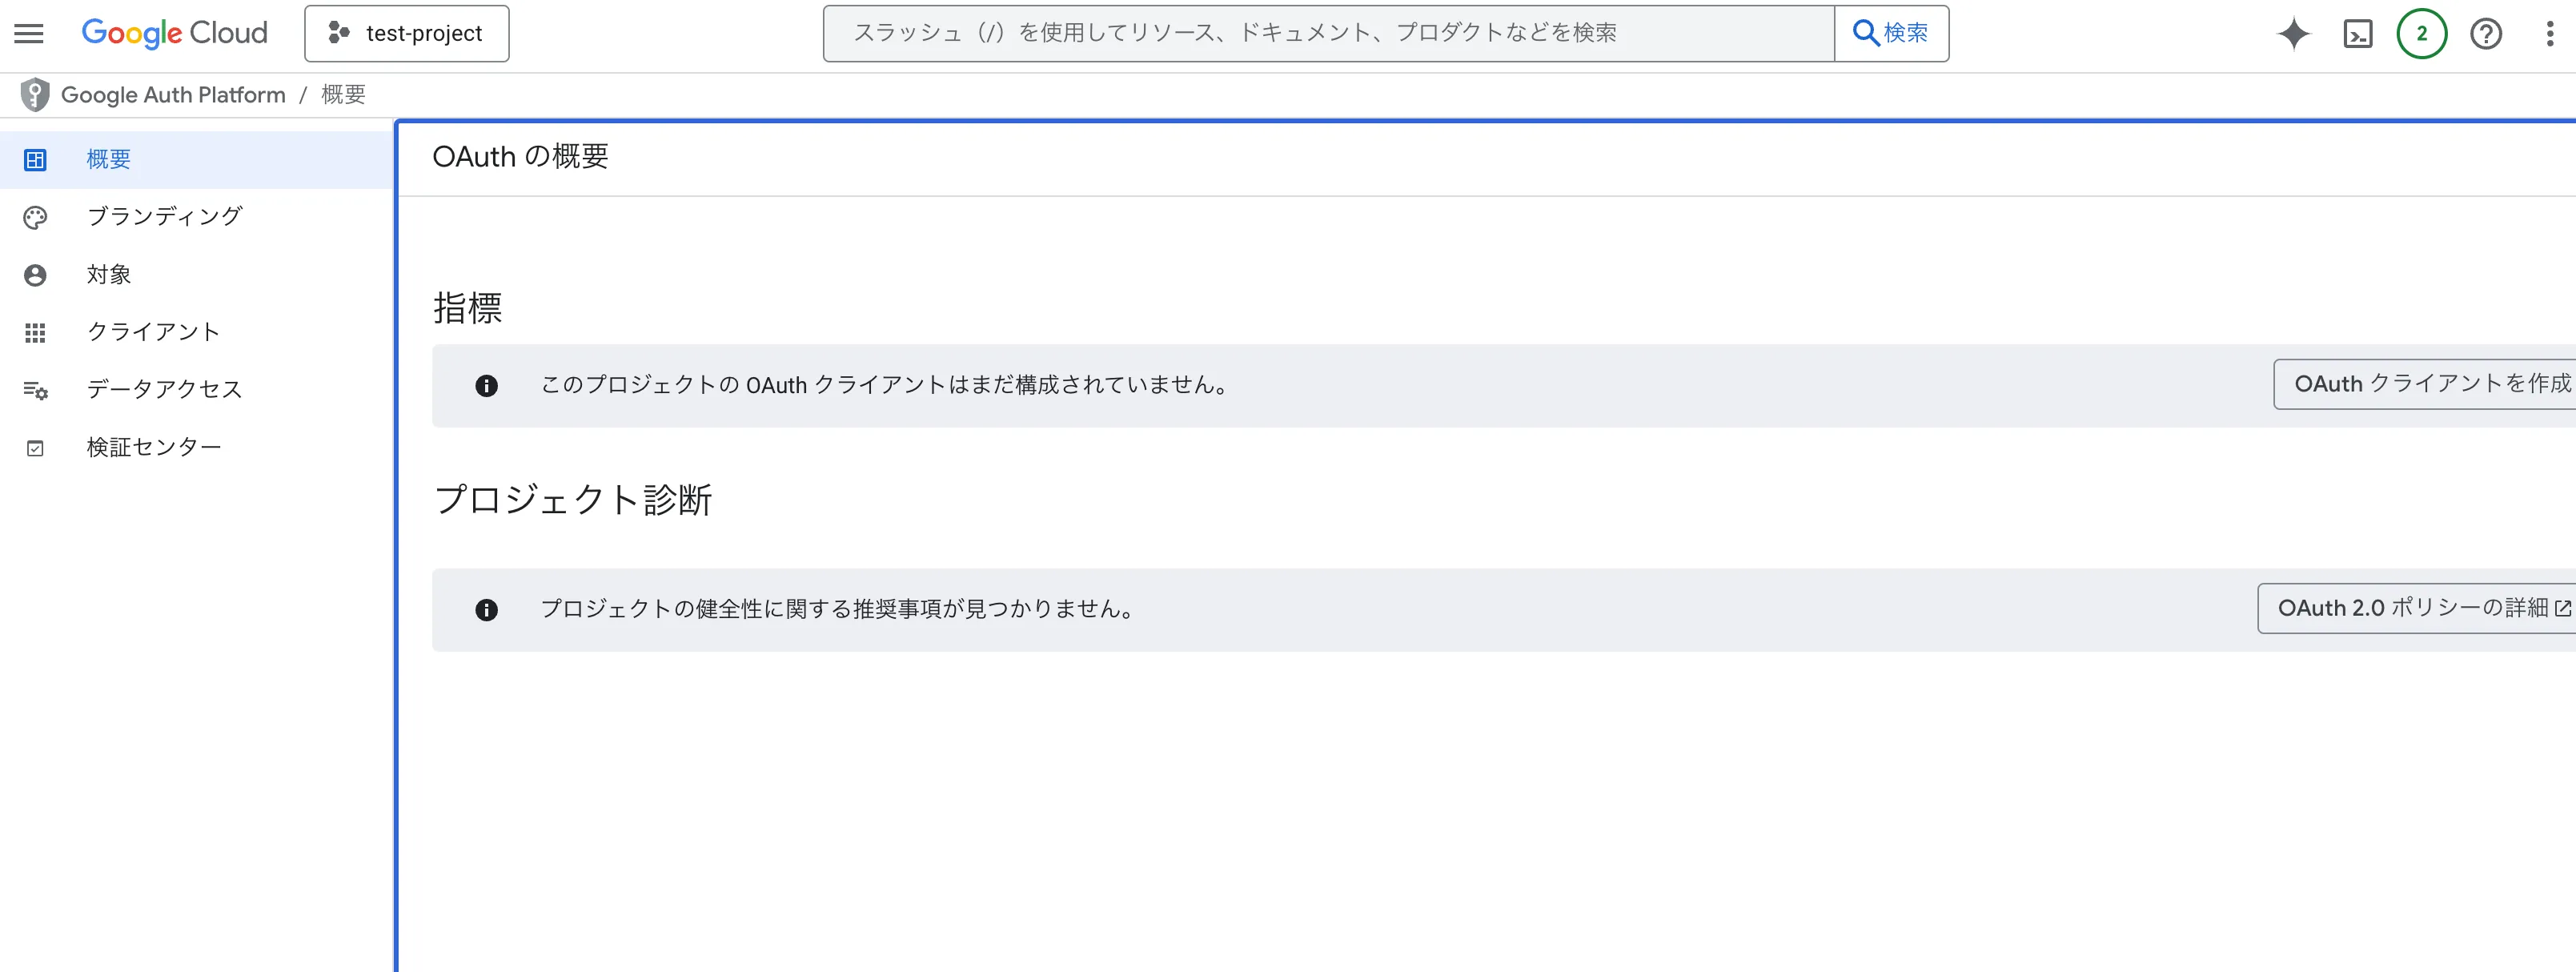
作成後、以下のような画面になるので「OAuth クライアントを作成」します。
アプリケーションの種類は「ウェブアプリケーション」を選択し、「承認済みの JavaScript 生成元」と「承認済みのリダイレクト URI」は以下のように設定しておきます。 (「承認済みのリダイレクト URI」はlocalhostではなく127.0.0.1にしないと動かなかったためそうしてます)

作成後、クライアントIDとクライアントシークレットが表示されるのでそれを先ほどのsupabase/.env.localに追記します。(※追記後、ローカルで立ち上げているsupabaseを再起動する必要あり)
実装
コールバック関数を実装(Google認証後、このAPIが実行される)
import { NextResponse } from 'next/server'import { createClient } from '@/lib/supabase/server'
export async function GET(request: Request) {  const { searchParams, origin } = new URL(request.url)  const code = searchParams.get('code')  // if "next" is in param, use it as the redirect URL  let next = searchParams.get('next') ?? '/'  if (!next.startsWith('/')) {    // if "next" is not a relative URL, use the default    next = '/'  }
  if (code) {    const supabase = await createClient()    const { error } = await supabase.auth.exchangeCodeForSession(code)    if (!error) {      const forwardedHost = request.headers.get('x-forwarded-host') // original origin before load balancer      const isLocalEnv = process.env.NODE_ENV === 'development'      if (isLocalEnv) {        // we can be sure that there is no load balancer in between, so no need to watch for X-Forwarded-Host        return NextResponse.redirect(`${origin}${next}`)      } else if (forwardedHost) {        return NextResponse.redirect(`https://${forwardedHost}${next}`)      } else {        return NextResponse.redirect(`${origin}${next}`)      }    }  }
  // return the user to an error page with instructions  return NextResponse.redirect(`${origin}/auth/auth-code-error`)}
次に、ログイン/ログアウト処理を実装
"use server";
import { createClient } from "@/lib/supabase/server";import { redirect } from "next/navigation";
export async function signInWithGoogle() {    const supabase = await createClient();    const { data: { url }, error } = await supabase.auth.signInWithOAuth({        provider: "google",        options: {            redirectTo: `${process.env.SUPABASE_AUTH_URL}/api/auth/v1/callback`,            queryParams: {                access_type: 'offline',                prompt: 'consent',            },        },    });    if (error) console.error('Googleログインエラー:', error.message)    if (!error && url) redirect(url);}
export async function signOut() {    const supabase = await createClient();    const { error } = await supabase.auth.signOut();    if (error) console.error('Googleログアウトエラー:', error.message)    if (!error) return true;    return false;}
次に、ログインページを実装
"use client";
import React from "react";import { signInWithGoogle, signOut } from "@/actions/auth";import { useRouter } from "next/navigation";

export default function LoginPage() {
    const handleGoogleLogin = async () => {        await signInWithGoogle();    }
    const router = useRouter();    const handleGoogleLogout = async () => {        const result = await signOut();        if (result) router.refresh();    }
    return (        <div>            <button onClick={handleGoogleLogin}>ログイン</button>            <button onClick={handleGoogleLogout}>ログアウト</button>        </div>    )}
これにて完成です。
参考記事
https://zenn.dev/buenotheebiten/articles/8d37297130bf93
https://supabase.com/docs/guides/auth/social-login/auth-google?queryGroups=environment&environment=server